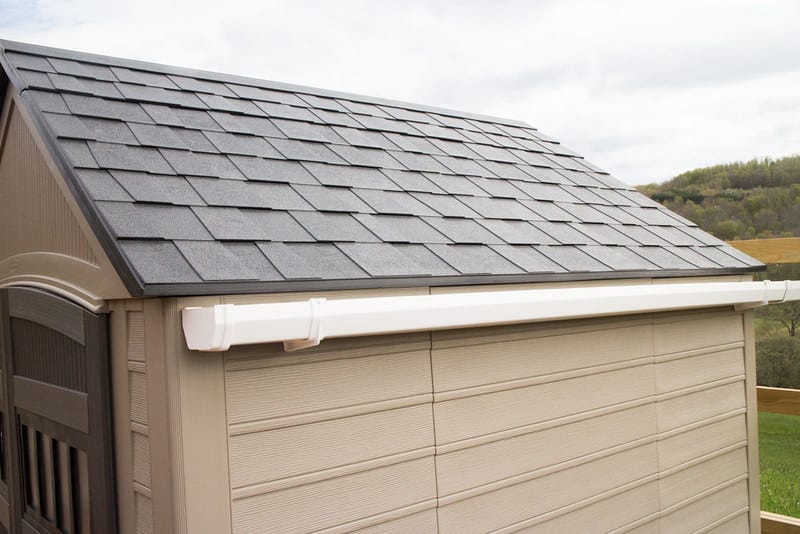
Adding gutters to your shed is an easy way to protect your investment from water damage. By effectively redirecting rainwater away from the shed, gutters can prevent muddy ground and foundation problems.
First, determine the proper slope of your gutter system. This can be done by placing a spirit level on the side of your shed or, if there is no fascia board, by installing standard gutter brackets.
Gather The Necessary Tools And Materials
Adding gutters to your shed is a smart way to protect the structure from water damage and foundation issues. It also helps to prevent muddy ground around the shed base and prolongs its lifespan. Whether you’re building a new shed or converting an old one, a functional guttering system is essential. Before you start the installation process, it’s important to gather the necessary tools and materials.
Begin by identifying the areas of your shed that need gutters and planning their placements. Typically, you will want to install gutters along the eaves and overhanging parts of the roof. To determine the length of each gutter, use a tape measure and carefully take measurements.
You will also need gutter sections, gutter brackets, downspout, and gutter sealant. If possible, use gutters that are made of aluminum or other metals to avoid rust and corrosion. Make sure that you have enough brackets to secure the gutters to the shed.
Measure And Plan
A gutter is an effective way to prevent water damage to a shed’s roof and foundation. It collects rainwater that would normally fall off the roof and diverts it to a drain or rainwater collection system.
First, choose a gutter material. There are several options available, including aluminum, vinyl, and steel gutters. Consider your budget and preferences when making your selection. Aluminum and vinyl gutters are lightweight and require less maintenance than steel gutters, which are heavier and may require more frequent cleaning to prevent rusting.
Once you’ve chosen a gutter material, measure the length of your shed roof to determine how long your guttering sections should be. Use this information to order your guttering supplies.
Be sure to include gutter brackets, end caps, downspout elbows, and screw sealant with your guttering supplies. You’ll also need a ladder that’s tall enough to reach the roof and sturdy enough to support you. When installing your gutters, be sure to follow ladder safety guidelines and work on a clear day with low winds.
Install The Gutter Brackets
When you’re ready to start the installation process, ensure that you have all of the necessary parts and tools on hand. This includes screws specifically designed for guttering and a high-quality sealant to ensure watertight connections.
Begin by installing the gutter brackets on your shed’s roofline, spacing them out evenly at about 3ft intervals. If you’re using a kit, be sure to follow the manufacturer’s guidelines for mounting the brackets. Some kits also include “stopend” sections that snap onto the open ends of standard guttering sections to create a watertight connection.
Use a string line to mark where the downspout will be, as well as the slope needed for your guttering. Adjust the string line as needed to establish a proper slope and ensure that your shed is properly protected from water damage, flooding, and erosion. The next step is to connect the downspout, which will redirect rainwater away from your shed.
Attach The Gutters
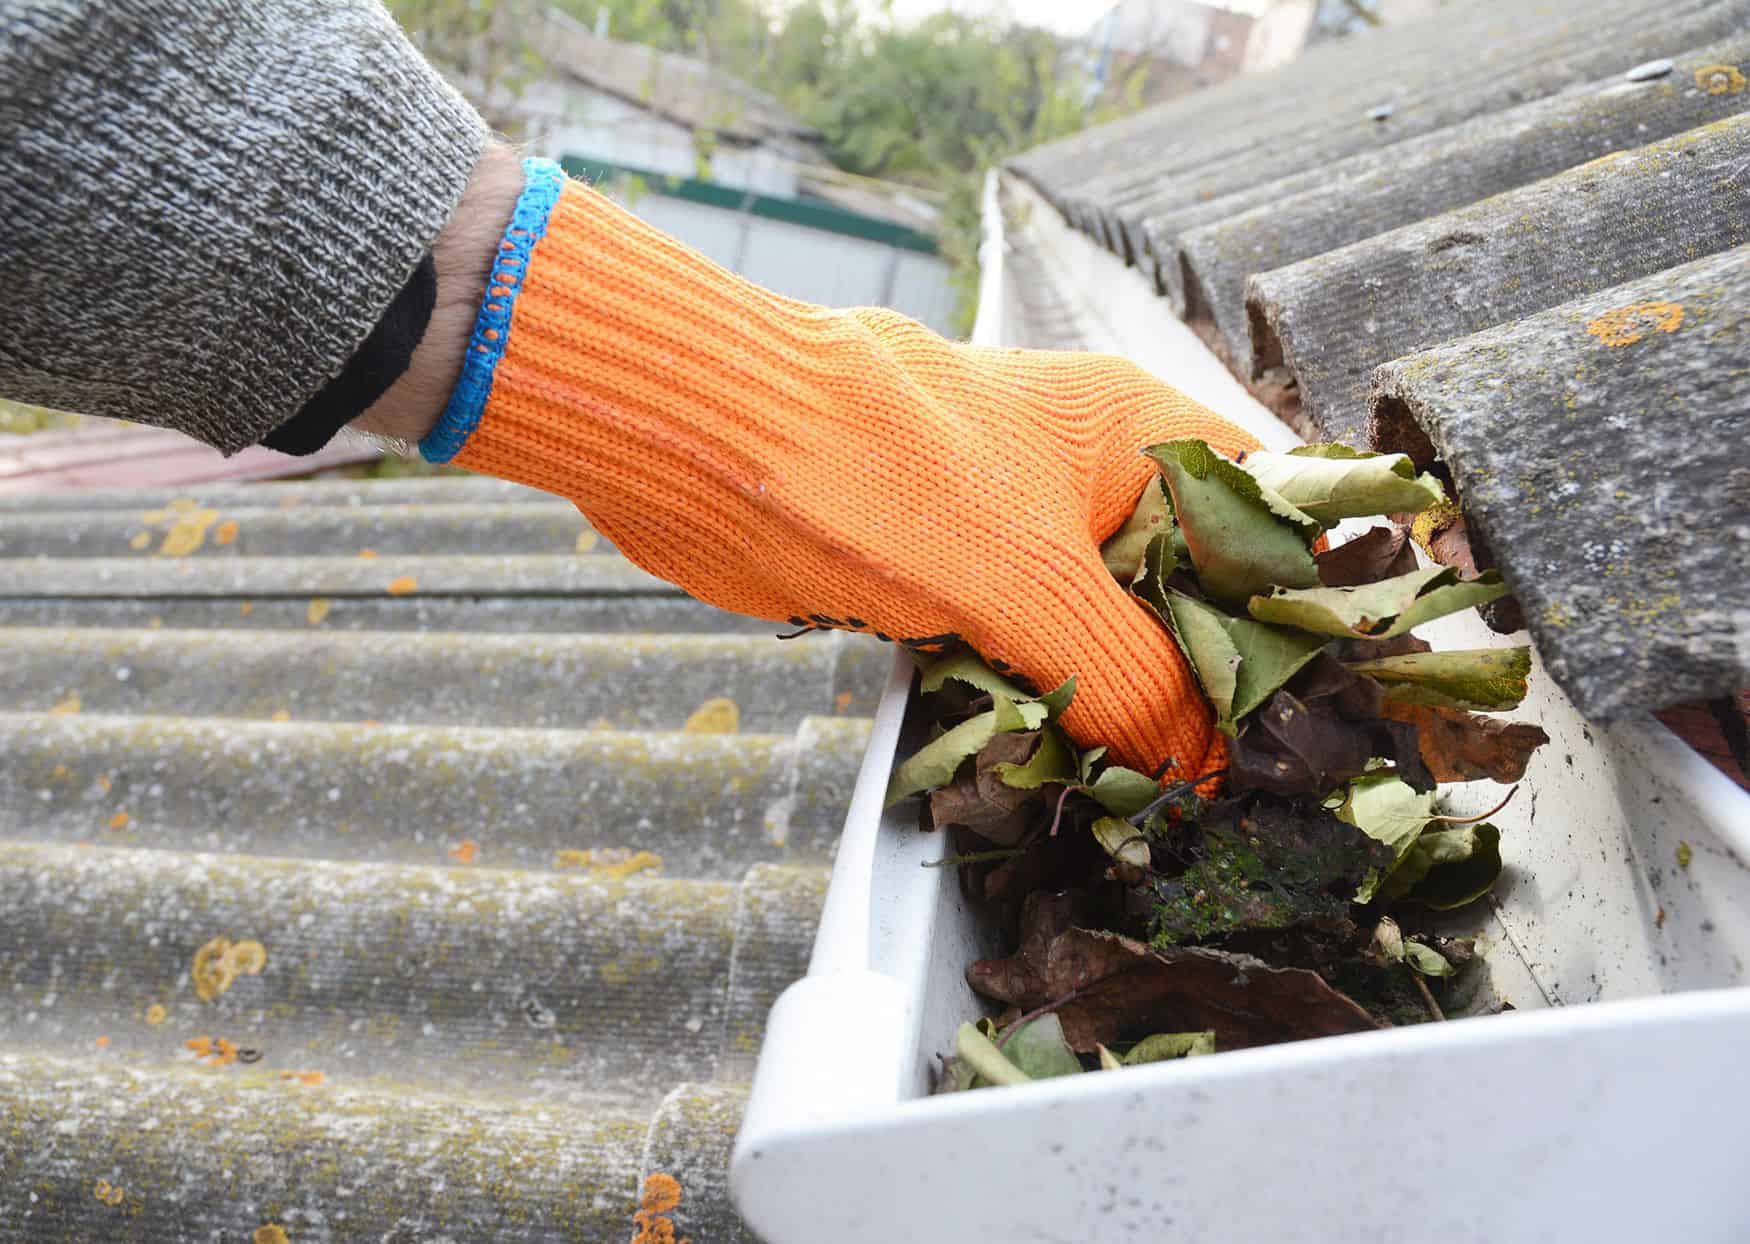
When properly installed, gutters help protect shed foundations from damage and water buildup by diverting rainwater runoff. To ensure that the gutters are functioning correctly, it is important to test and adjust them regularly. This will keep them clear of debris and ensure that they are directing rainwater away from the shed.
Gutter systems are typically positioned on houses to prevent water damage from flooding, but they can be attached to any structure with a roof, including sheds. They collect rainwater that would otherwise fall off the shed roof and pool on the ground, and then direct it to a downspout.
To install the gutters, first measure the length of the shed roof and determine the location of the downspout. Next, attach the gutter brackets to the fascia boards at 2-3ft intervals. Finally, install the gutter sections and secure them to the brackets using screws.
Connect The Downspout
Ensure that the gutter downspout is securely connected to the shed. This will help to ensure that the gutters aren’t loose and fall off on stormy days or during heavy rainfalls, which could cause serious damage.
For this, you’ll need a ladder that’s stable enough to reach the roof deck, and a level. First, determine the ideal downspout location by locating the bottom of the fascia board and observing how the water is flowing. Ideally, the water should flow at a 1 inch per 40-foot run, which will help to avoid any potential pooling or drainage problems.
Once you’ve determined the downspout location, press a 112.5 degree offset bend and section of downspout tubing into place. Lubricate and secure it. Next, test the system using a hose to simulate rainfall. Observe how the water flows through the gutters and downspout, and make any necessary adjustments as needed.
Test And Adjust The Gutters
As you can see, measuring and planning accurately is an important part of installing shed gutters. It ensures that the system will fit properly and function effectively in diverting rainwater away from the shed.
Adding a downspout is also essential for efficient water flow. A downspout directs rainwater away from the shed and helps prevent muddy ground and wood rot. Once the gutters are installed and connected to the downspout, it is time to test and adjust them. Use a hose or pour water directly into the gutters to simulate rainfall and observe how it flows. Check for any leaks or blockages, and make necessary adjustments as needed. Once everything is in place and working properly, you’ll be glad you added gutters to your shed! They’ll protect your shed from costly damage and keep it looking its best for years to come.


