


Eavestroughs are vital for preventing water damage to your roof and house. Regular cleaning, inspection and repairs help extend their lifespan.
But they do wear down and can require replacement over time. If you see any signs of eavestrough damage, such as cracks or sagging, schedule an inspection right away.
Eavestrough Installation
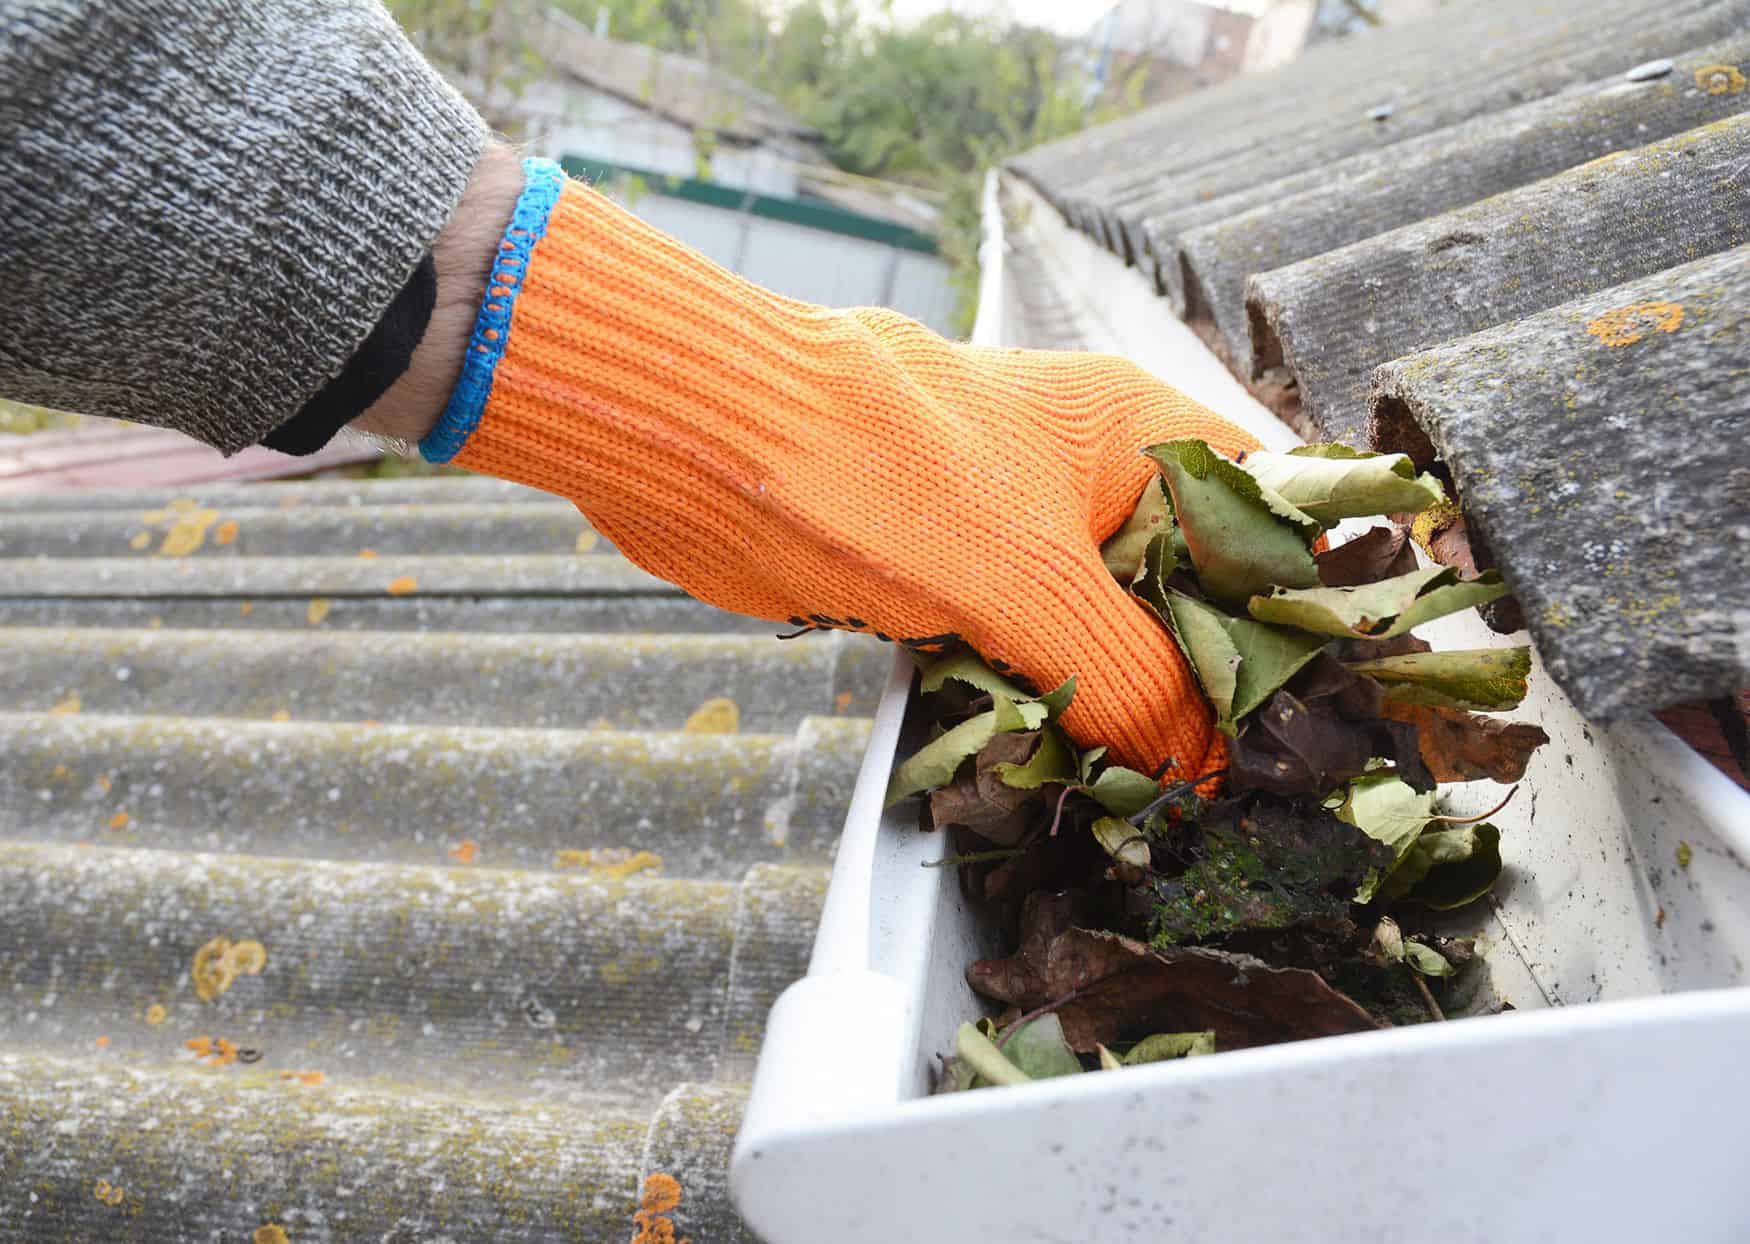
Eavestroughs are an integral part of the home and help manage the flow of rainwater to prevent damage to the roof, fascia boards, windows frames and siding. They are typically made of metal and are designed to catch the rain and channel it down into downspouts. However, over time, they can become clogged with debris and sag. This can cause the water to spill over and cause damage. To prevent this, it is important to clean the gutters regularly and get them repaired whenever they are damaged.
If your eavestrough is sagging, the problem may be with one of the seams. This can be a simple fix and involves applying some sealant to the area that is damaged. In some cases, it may be a loose screw or nail that needs to be tightened or banged into place. If the sagging is due to a damaged or missing section of the gutter, you may need to replace it entirely.
When installing an eavestrough, it is best to make a sketch of the layout before starting. This will help determine the materials that are needed and where the outlets will be installed. Ensure that you are using aluminum or steel as these are durable and won’t rust or expand and contract with the changing temperatures. Make sure to mark where the downpipe will be and an outlet at each end of the trough. Once this is done, lay a piece of 2×4 boards on the ground and turn the trough upside down over it. Use chalk to outline where the downpipe will be and then insert the outlet to ensure that it fits properly. Once the outlet is in place, install the end cap by crimping or riveting it and apply gutter seal to the bottom of the outlet.
Eavestrough Repair
Gutters are designed to withstand extreme weather conditions, but over time they can experience damage. Knowing how to properly repair your eavestroughs can extend their lifespan, reduce the need for replacement and help to protect your home from water damage. Usually, the first sign of trouble is a leak in one of the gutter seams. This can be a simple fix, but if the problem is widespread you’ll need to remove and replace the entire section of the gutter. Small holes or cracks in the gutter are another common problem, and these can be fixed with some silicone caulk. Sagging gutters are also a big issue, and this is an easy fix by simply tightening up the brackets or fasteners. Watch our video below for instructions on how to properly repair your eavestrough.
Eavestrough Replacement
If you have recently replaced the roof and are looking to replace your eavestrough, here are some guidelines on how to do so. First make a sketch of the roof layout and measure the length of eavestrough required. Determine the slope needed by using a chalk line to start below the shingle on one end and mark this with a second mark on the other end where the downpipe will be installed (this is 1/4″ lower than the first mark for every 10′ of eavestrough). Determine if any elbows are required and mark them on the sketch along with where the outlets will be located (for lengths over 40′ it is recommended that there be an outlet at each end). Take into consideration the temperature of your area as these changes can cause eavestrough to expand/contract 1/2″, therefore an expansion joint is often necessary.