


Removing gutters can be a daunting task, but it is possible with the right equipment and a solid plan. Make sure to wear the proper safety gear and have a second person on hand to steady the ladder.
Start by disconnecting the downspout from the elbow beneath the gutter drop outlet and loosening the downspout wall straps. Then, carefully and slowly pull the downspout away from the house.
Tools
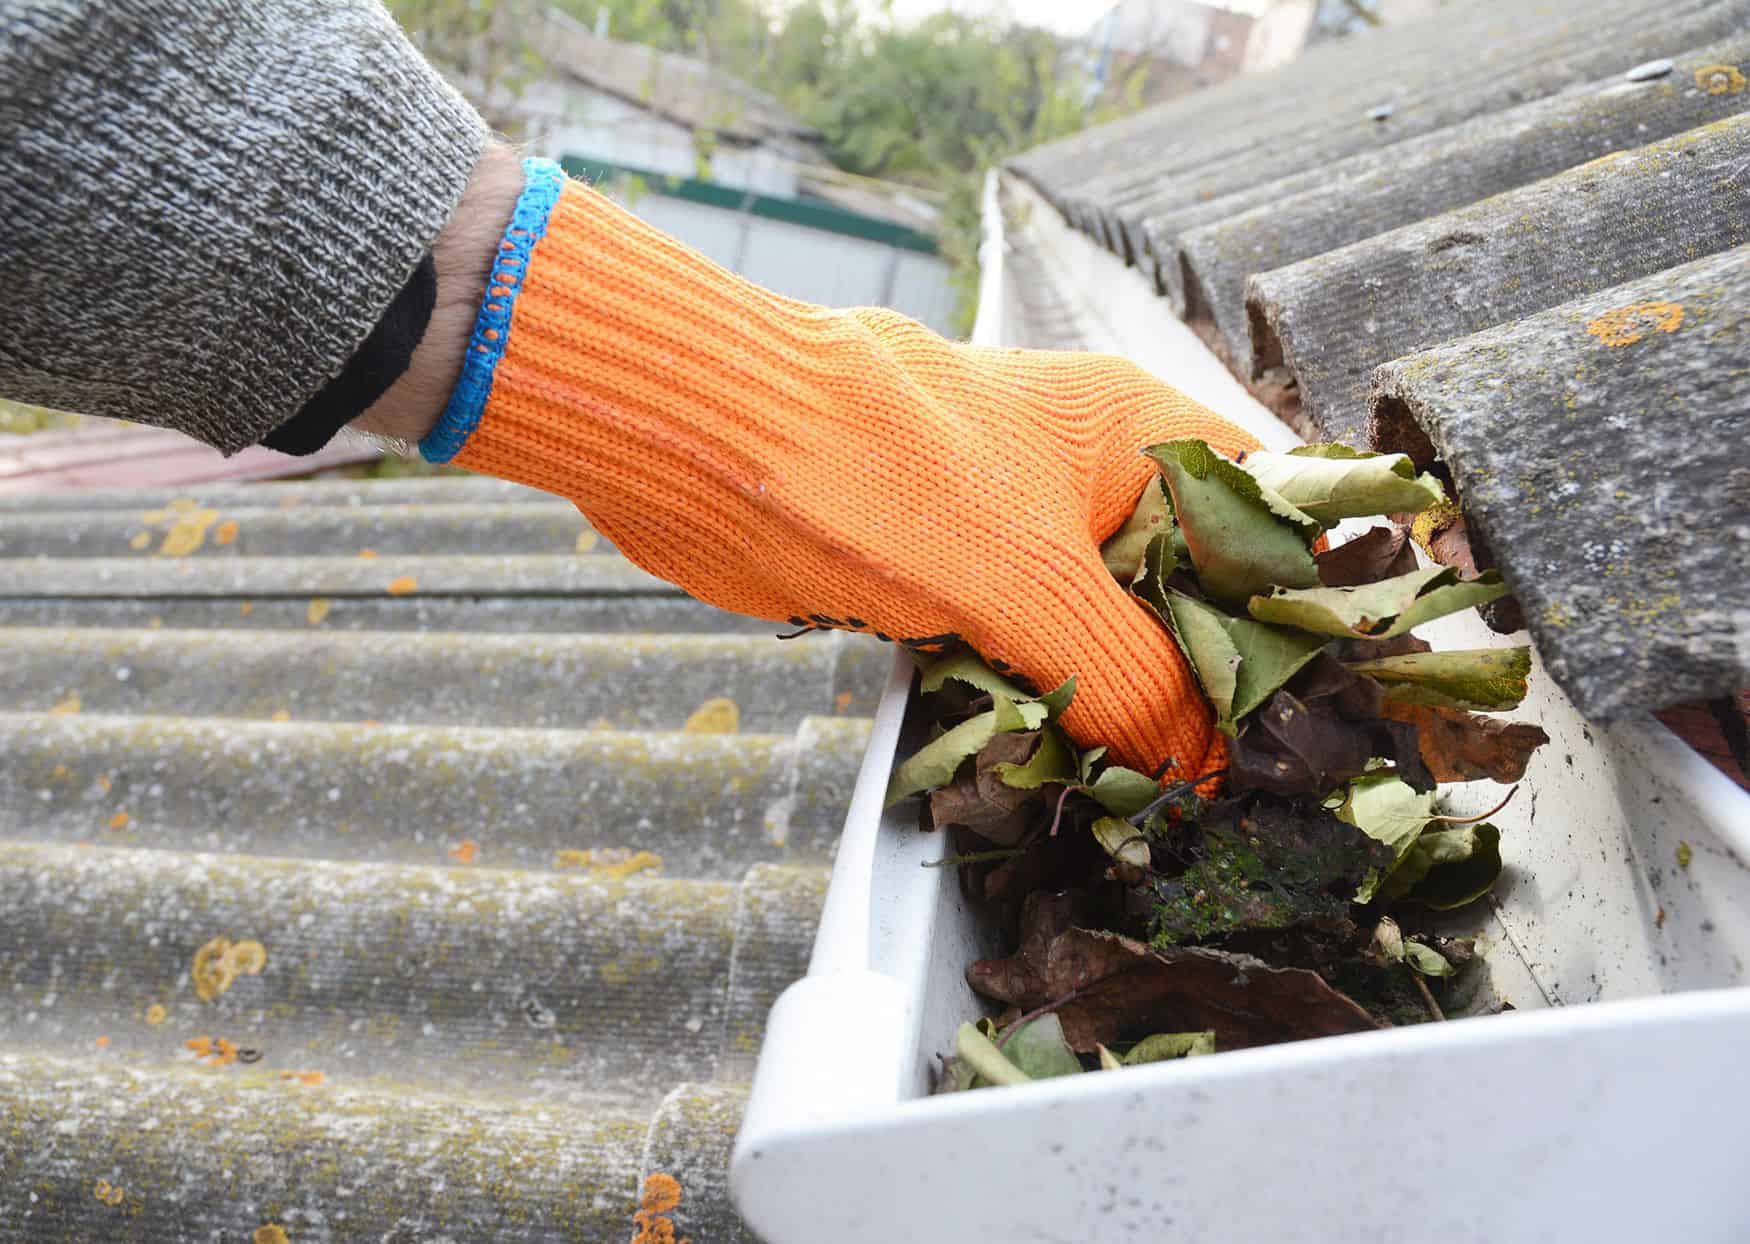
Gutter cleaning is a tedious job, but it can be made easier with the right tools. A good ladder is essential for safe and stable working, a garden hose with a high-powered spray nozzle to blast away stubborn clogs and a sturdy pair of work gloves to protect your hands from sharp gutter pieces.
Other important tools include safety glasses to protect your eyes from dust, dirt and debris. A screwdriver with the correct bit can be used to loosen and remove gutter screws. Tin snips are useful for cutting through soft gutter materials, such as aluminum. A hammer may be needed to tap and loosen stubborn gutter hangers or downspouts.
A gutter scoop is also a handy tool to have for cleaning out the old gutters. These flexible and extendable tools can be attached to your garden hose to make it that much easier to reach the hard-to-reach areas of the gutters without having to move your ladder. Popular models, such as the Gutter Getter, are inexpensive and can be found at most hardware stores.
Safety First
Before you take down any gutters, it’s important to follow basic safety precautions when working from a ladder. This includes inspecting the ladder for any cracks or damage, making sure it’s positioned on level ground and having someone hold the base of the ladder for stability. You’ll also want to make sure that you have all the necessary tools and materials on hand. These include a ladder, work gloves, a garden trowel or scoop, buckets and a hose. The buckets are used to collect any debris, while the hose is helpful for flushing out the gutters once they’re removed. Work gloves are essential for protecting your hands from clumps of wet leaves, animal droppings, mold and other bacteria that can be found in gutters.
It’s also a good idea to wear non-slip shoes and have a pair of heavy-duty gloves available for handling any sharp or metal parts. Finally, for added safety, have a spotter to hold the ladder steady while you’re on it. This is especially important if you’re using a step ladder.
Preparation
It’s important to gather all the necessary materials and tools before starting a project like taking down gutters. This will help to ensure that everything is ready for the task at hand and will make the process as seamless as possible. For example, it’s recommended to have gloves, safety glasses, a dust mask and a hammer on hand to assist with the removal process. In addition, a tarp or plastic bag can be helpful to catch any nails, screws and other debris that may fall off of the gutters as they are being removed.
It’s also a good idea to have new spikes or screws on hand for the reattachment of the gutters to the fascia. This will help to ensure that the gutters are secured properly and that they’re aligned correctly for optimal functionality. Before completing the job, it’s also essential to check for any damages that were made during the removing or replacing process. This will allow you to take the time to repair any areas that require attention. Moreover, this will prevent any future leaks or damages to your roof and other aspects of the home.
Start With the Downspouts
The first step in removing gutters is to disconnect the downspouts. You will need to loosen the wall straps that hold each downspout in place and carefully pull it away from the house. Once the downspout is disconnected, you can store it or dispose of it as needed.
Be careful when handling downspouts and be sure to take breaks as needed while working at height. You will also need to keep an eye out for bees, wasps, or other stinging insects that may be nearby. If you have a problem, call in a pest control professional for assistance.
Once you’ve removed the downspouts, set up a ladder to work on the remaining gutter sections. Use a sturdy ladder with rubber feet and be sure to position it on stable ground. It is a good idea to have a partner during this phase to help support the ladder and steady it while you remove each section of gutters. This will minimize the amount of strain you have to apply and prevent accidents that could occur due to overexertion or fatigue.
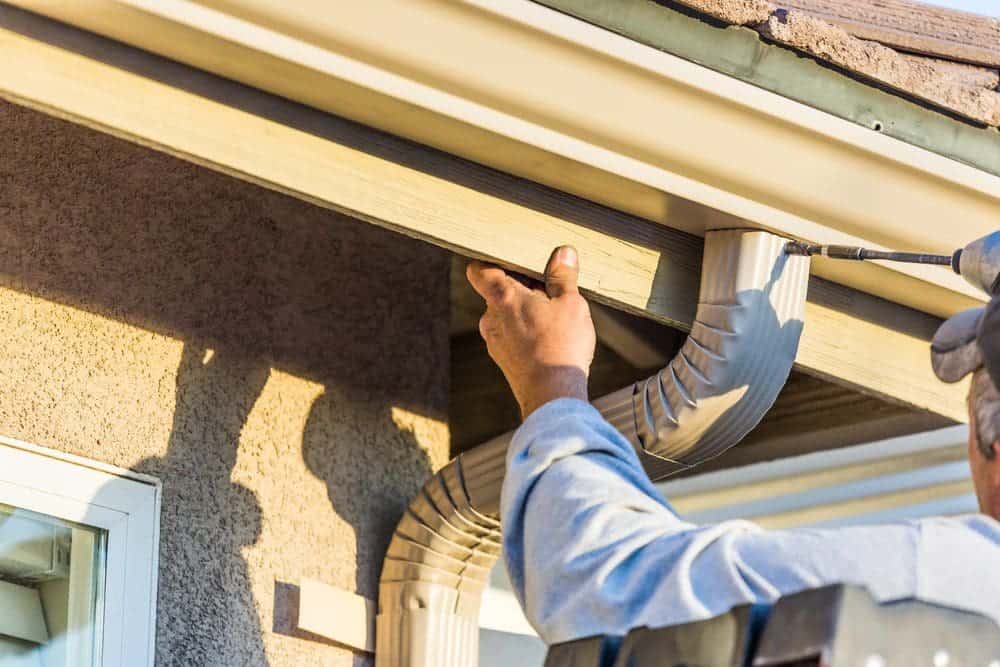
Remove the Fascia
Because the fascia board is positioned just below the roofline, it’s exposed to lots of moisture. This makes it very susceptible to rot, especially if the boards aren’t regularly painted to protect them. If the fascia board becomes rotten, it’s important to replace it before it causes damage to the rest of the gutter system and roof.
To do this, you’ll need to remove the existing gutter section piece-by-piece from its mounting brackets. It’s helpful to have a spotter to help you hold the ladder steady as you unscrew and remove each section of gutter. You should also consider covering the surrounding area with a tarp to prevent nails, screws, rivets and other debris from littering your yard.
Once you have the gutter sections removed, you’ll need to inspect them for any signs of rot or corrosion. Be sure to clean off any dirt and debris that may have accumulated in the gutters as well. Then, you’ll need to cut each end of the new fascia board at a 45-degree angle—called mitering—to ensure it fits around the corners.