


Gutter end caps seal gutters, preventing water leakage and promoting gutter longevity. They also offer aesthetic value and add a polished look to your home. Understanding the different types, gathering necessary tools and materials, and following the steps for installation will help you safeguard your home from water damage.
There are several ways to attach gutter end caps, including using a crimping tool or a pop rivet. The latter is a quicker option.
Use A Crimping Tool
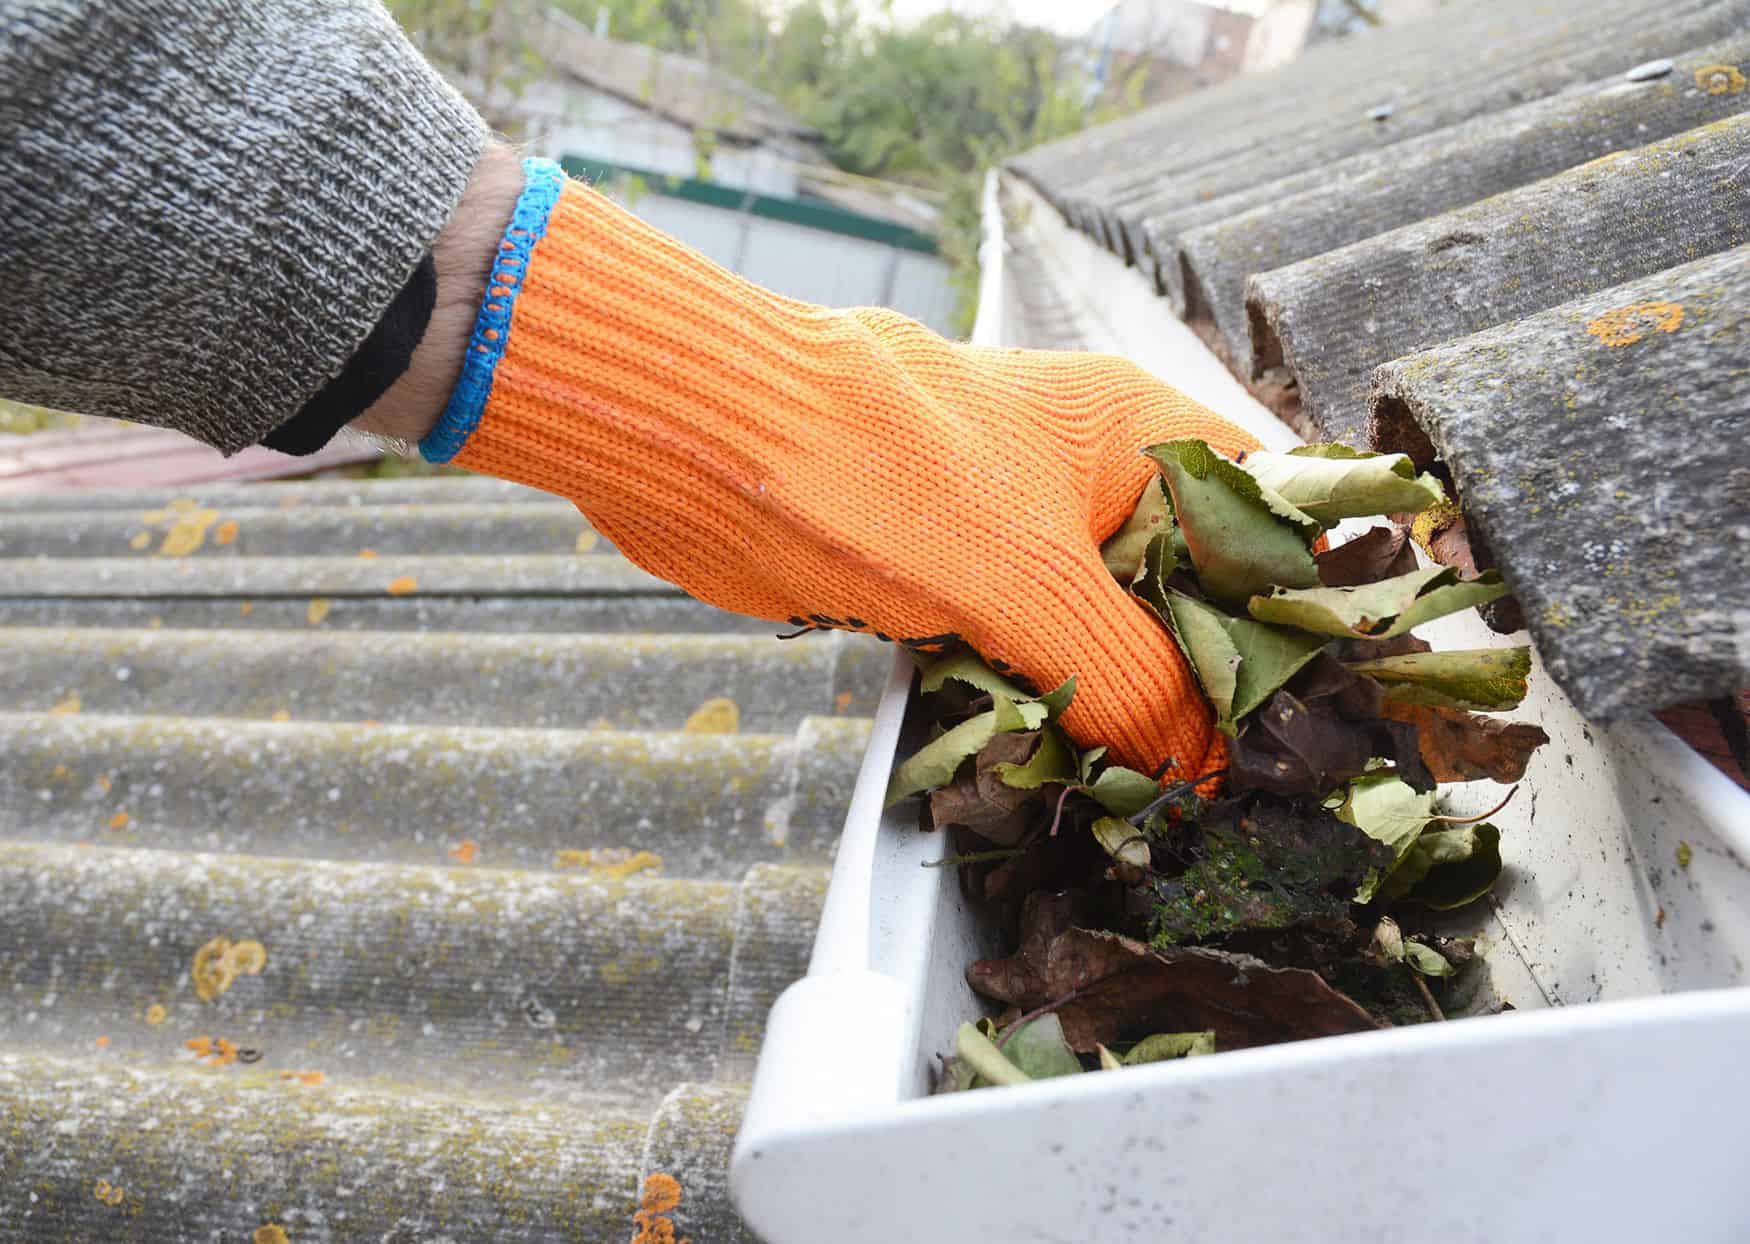
Gutter end caps protect the ends of your gutter system and help keep out leaves, twigs, and other debris that can clog the system. They also help prevent pests from entering your home. Properly installed gutter end caps can safeguard your house from water damage and enhance curb appeal. Choosing the right type and size of gutter end cap, following a step-by-step guide, and maintaining routine maintenance will help ensure the optimal functioning of your gutters.
A crimping tool is a valuable tool for installing gutter end caps. It creates a double inside and louvre outside crimp on the end caps, which helps secure them to the gutter. It is also designed to provide maximum strength, and it features a bottom forged blade for lasting durability. Its KUSH’N-POWER(r) compound leverage handle action multiplies the hand force, making it easy to use.
The first step in installing a gutter end cap is to clean the area where it will be attached. Next, apply an even bead of silicone to the grooved channel on the new gutter end cap. After applying the silicone, place the gutter end cap over the gutter and press it firmly until it sits evenly. Finally, wipe away any excess sealant and let it dry before putting the gutter back in place. Once the sealant is dry, test your gutter to make sure it’s watertight.
Use Pop Rivets
If you are installing gutters, it’s important to attach a gutter end cap at each end. This will prevent water from escaping the uncapped ends, and redirect the runoff into a downspout. Gutter end caps are available in a variety of styles, including square and rounded. They can be fastened with a crimping tool or by using pop rivets. Gutter end caps are usually made of aluminum, but you can also use galvanized steel or copper. They can be shaped to fit the contour of your house fascia. The rounded type has a more modern look and is easier to clean.
To install an end cap, start by removing the old one or cleaning it with a rag and silicone caulk. Then, apply a thin bead of silicone lap sealer to the inside of each gutter end cap and press it in place. If you have a drill, a 3/16-inch hole saw fits the screw-mounting holes on many gutter hangers. Otherwise, a cold chisel will work just as well.
If your gutters extend beyond the front of the house, trim the first section to length using a hacksaw or tin snips. If you’re installing gutters that wrap around an outside corner, first install a splice fitting and then connect it to the preceding length of gutter apron with rivets. Afterward, install the next section of gutter and connect it to the splice fittings with more rivets.
Use A Screwdriver
Gutter end caps are a vital component of any gutter system. They seal the ends of the gutters, preventing water from flowing out and damaging your home. In addition, they add aesthetic value to your property. By understanding the type of gutter end cap you need, gathering the necessary tools and materials, and following the installation steps, you can safeguard your home from potential water damage.
To install plastic gutter end caps, you will need a ladder, a drill, a screwdriver, and a hammer. You will also need to measure the length of your gutter run and cut the end caps to size using a hacksaw. Once you have the appropriate length, use a drill to make pilot holes in the end caps and attach them to your gutter with screws. Finally, use a hammer to tap the end caps into place.
After installing the end caps, apply a bead of caulk or sealant around the edges. Once the sealant or caulk has dried, you can test the gutters to ensure they are properly sealed and channeling rainwater away from your home. You should also inspect the gutters regularly and reapply sealant or caulk as needed. If your gutters are more than twenty feet long, you will need to overlap them with a gutter splice. This can be done by placing the gutter splice slightly lower than the non down spout end.
Use A Rubber Mallet
Gutter end caps are an essential part of any gutter system. They prevent water from spilling out of the gutter and causing damage to your home. They can also improve the appearance of your home’s exterior. Installing vinyl gutter end caps is relatively easy, but you will need a ladder, a drill, a screwdriver, and a hammer. To install the end caps, first measure the length of your gutter and cut them to size. Then, apply a bead of caulk or sealant to the edges of the end cap. Next, place the end cap on the gutter and press it into place. Finally, use the hammer or rubber mallet to tap the end cap into place.
Once you have the correct gutters for your home, it is important to maintain them properly. You should clean them regularly and make sure that they are properly secured. If you have a leaking gutter, it can cause water damage to your foundation and damage the integrity of your house. Gutter end caps are an important part of your gutter system, and they are an inexpensive way to protect your home from water damage.
Gutter end caps are available in a variety of styles and colors, and they can be customized to match the look of your home. Some styles have decorative motifs or designs, which add an extra touch of style to your home’s exterior.