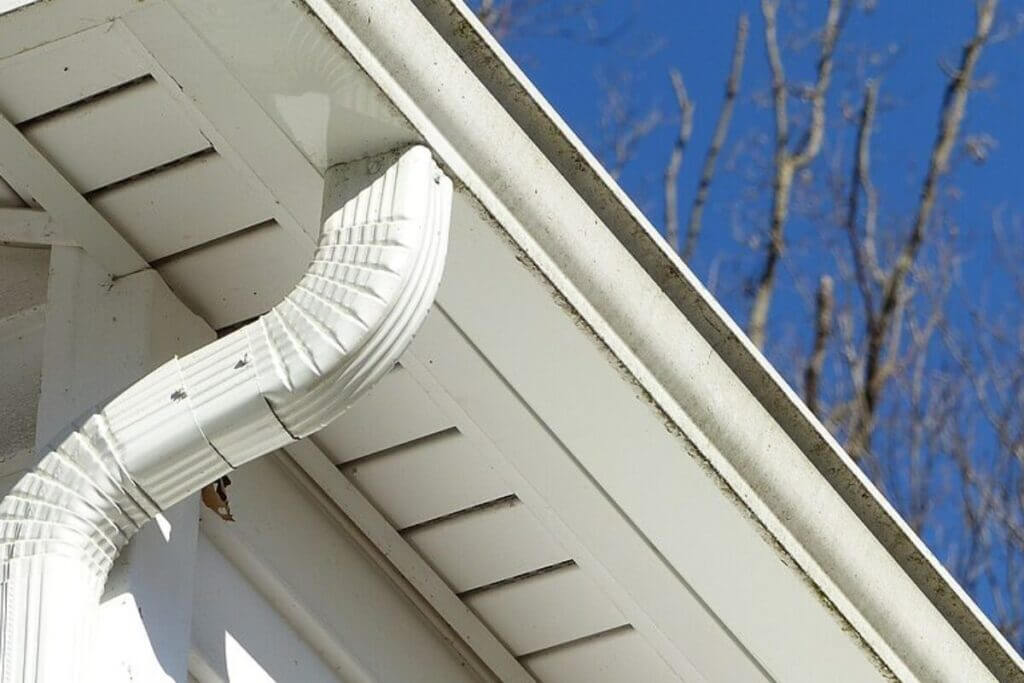
Eavestroughs direct rain and snow away from the foundation of your building. The proper installation of a downspout will keep water from pooling and damaging your home’s structure.
You will need a downspout adapter and two connectors, as well as the length of downspout you require. Also, make sure you have strapping for the downspout and an elbow to fit your gutter outlet.
Measure the Length
An eavestrough prevents water from spilling over the side of your home. It collects rain and melted snow, then channels it to downspout locations, where it drains away from your house. It’s not only a way to protect your roof and gutters, but it also keeps standing water from causing structural damage in the attic.
The first step is to find the best downspout location. It’s important to consider the slope of your property and the layout, as well as any trees or buildings that may interfere with the downspout path. You’ll also need to determine where the downspout should end.
To do this, measure from the gutter hole to where you want the downspout to end. Then, add 4 inches to the measurement and cut a short section of downspout. You can use a hacksaw or metal cutting snips to do this. Then, crimp the edges of the downspout and insert it into the elbow.
Cut the Length
To cut the downspout to length, set it up against your gutter and measure from the top to where you want the downspout to end. If it’s not going to be straight down from the gutter, then you need to add on some extra length — like an inch and a half if your gutter is ten feet long.
You’ll need a pair of tin snips or a jigsaw with a metal cutting blade to cut the downspout. To make it easier, poke the point of the tin snips into the downspout to mark your cutting line. Then, work the tin snips over the downspout, cutting until you reach the marked line.
Once you’ve got your downspout cut to size, you can connect the elbows. The elbows should be positioned so that the downspout is draining away from your house. Also, the ground around your downspout should slope slightly away from your foundation to avoid water pooling near your home’s footer. To keep your downspout from moving too easily, crimp the edges of the elbows with a crimper.
Cut the Elbows
The next step in installing a downspout is to cut the elbows. Start by measuring from the gutter hole to the ground and subtracting around seven or eight inches. This will give you room to add the top and bottom downspout elbows.
Once you have the measurement for the first elbow, use a hacksaw to cut a piece of straight downspout that is longer than the gutter. Then, insert the downspout into the gutter elbow and secure it with a sheet metal screw on both sides of the gutter wall.
Repeat the process for the other downspout elbow, being careful to align the elbows with each other so that water flows through them. Once you have all of the elbows in place, fasten them to each other with screws or rivets. It’s a good idea to use a primer on the downspout pieces to help them seal properly and keep out rainwater. You will also need to install splash blocks or underground drains at the downspout bottom, depending on your yard and soil conditions.
Connect the Elbows
If your gutter’s overhang is close to the wall, or if you’re installing a downspout that will connect to an underground drain system, you’ll need to use more elbows. These pre-formed curved sections are used to change the angle or direction of the downspout.
Climb up a ladder, and carefully place the first downspout elbow over the gutter outlet (also called the down spout hole). Then mark the measurement for your downspout, subtracting 4 3/4 inches to leave room for the other side of the elbow. Use metal cutting snips to cut along the marked line, and then use a hand seamer to fold the edges inwards.
Then crimp the other end of the downspout with your pliers to make sure it fits tightly over the smaller end of the elbow. Now slide the downspout through the elbow, orienting it so that the open bottom of the downspout points away from the building foundation. Insert two more sheet metal screws to secure the connection. Repeat the process for the other downspout elbows, ensuring that they are positioned correctly.
Connect the Downspout
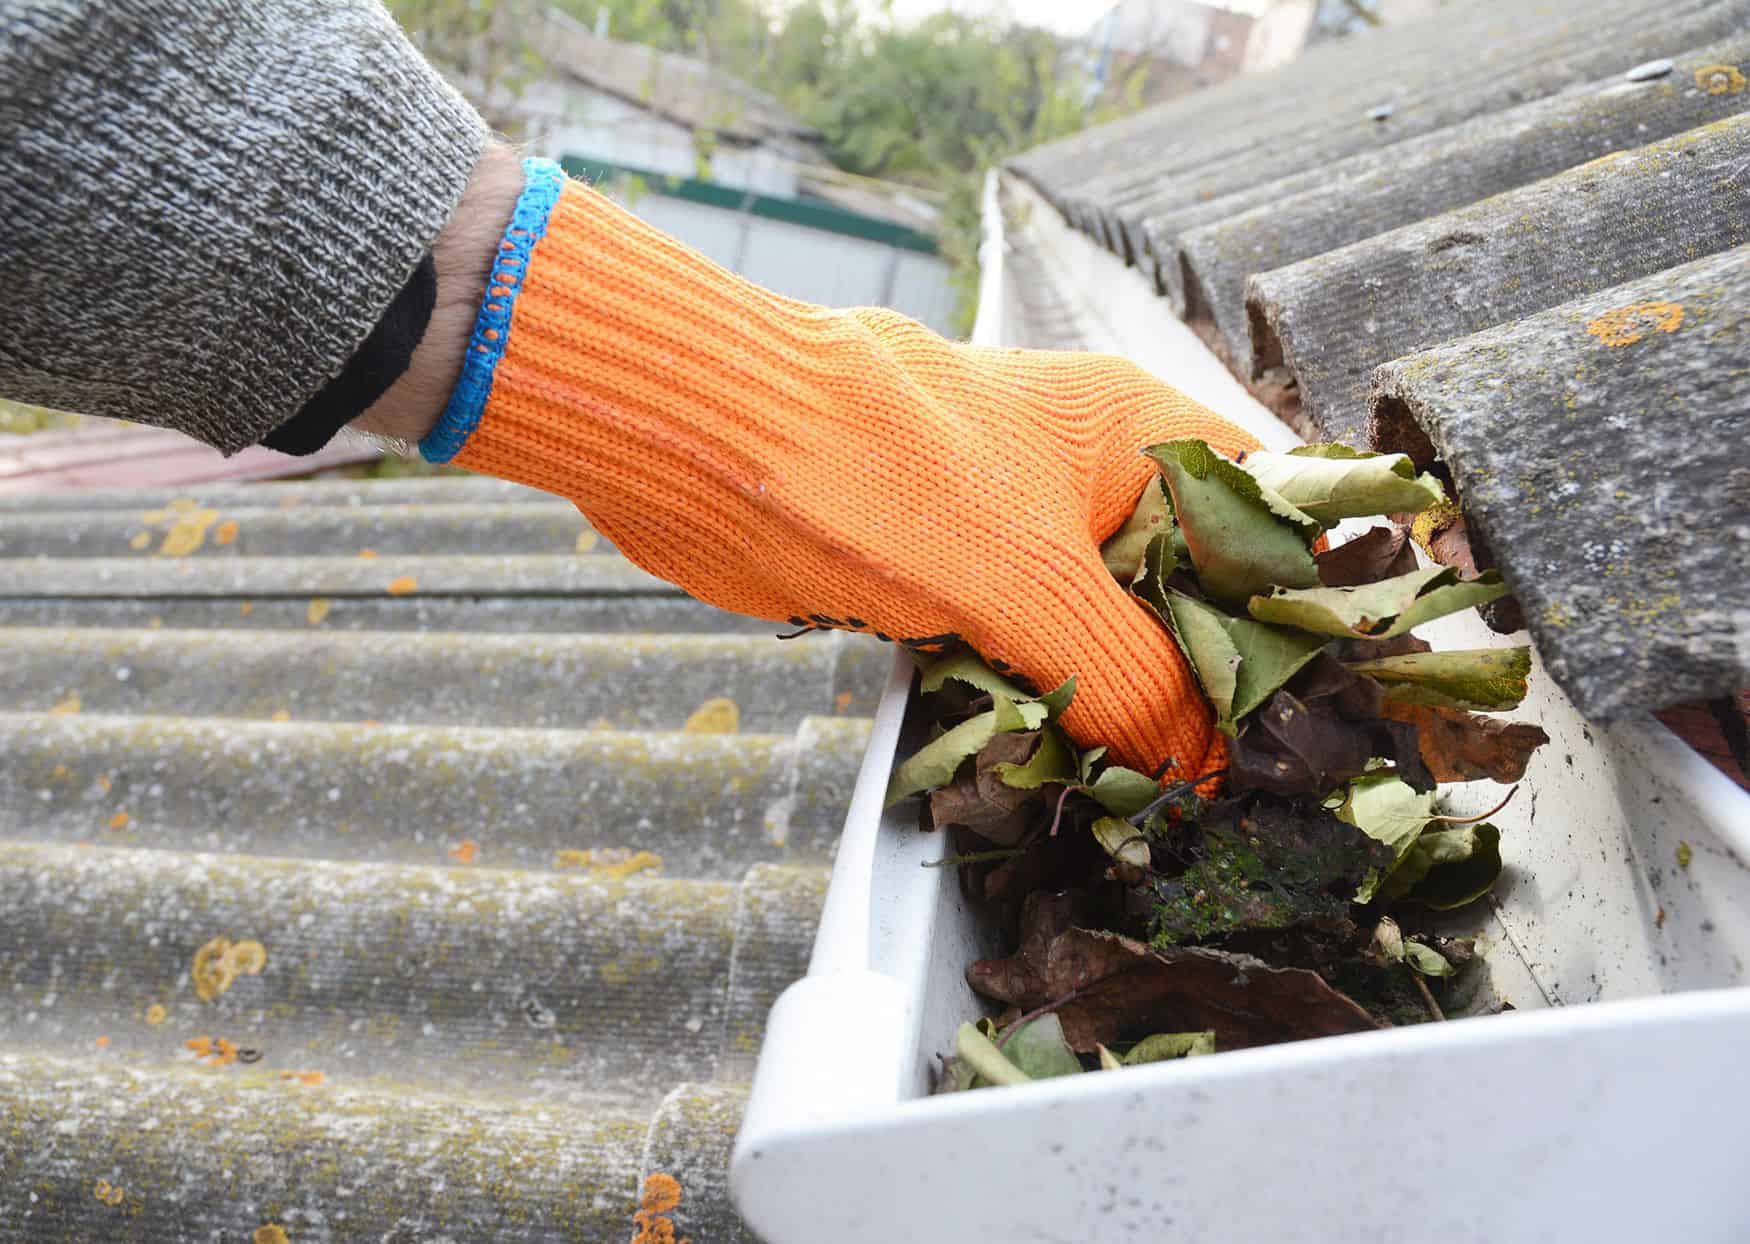
A downspout will protect your home from water damage and prevent your guests from having to walk through a mini Niagara Falls whenever they enter or leave. A downspout also keeps your gutter system clean and working properly, so it’s a good idea to get one installed as soon as possible.
Before you start to work on your downspout, however, it’s important to secure the place where it will be mounted. This will ensure that it won’t come loose on days when the weather is bad. You can do this by screwing downspout straps into the wall if you have wood, vinyl or composite siding, or you can use lead anchors, masonry nails or Tapcon screws for brick and stone applications.
Next, you’ll need to install the brackets where the downspout will be attached. Do this by screwing one in about a foot from where the top of the downspout will be, and the other about a foot and a half from where the bottom of the downspout will be. These should be perfectly lined up with your outlet opening.


