


Pros: This type of hanger supports the gutter from underneath, providing added strength for heavy rainfall. It is less likely to pull away from the roof than traditional spike-style hangers.
Ensure the hangers are evenly spaced across the entire length of the gutters. Ideally, you will install the hangers before you install the gutters.
Cut the Gutters
There are several different types of gutter hangers available, including a hidden hanger that clips to the outside lip of the gutter and a strap hanger that attaches to the roof and wraps around half-round gutters. Gutter hanger spacing is critical, as improper spacing can lead to sagging and overflowing.
Start by cutting the gutter section to the desired length, then mark it with a combination square and a pencil. Next, position the gutter section so that it is lying on the ground with the convex side facing down and the flat edge against the fascia. Use a pair of snips to make the cut, making sure to use green or red snips that match your cutter, so that you don’t deform the metal.
After the cut, use a file to smooth down any rough spots on the guttering and the brackets or straps that attach to it. This will help prevent injury when you are installing the end caps and seals or handling the gutters for maintenance.
Determine the number of gutter sections you need by dividing the total linear feet of the gutter run by 2.5. This calculation will give you the correct number of gutter sections to install, as well as an appropriate amount of gutter hangers. Repeat the process for each remaining section of the gutter.
Cut the Fascia
Gutter brackets keep your gutter firmly fastened to the eaves of your home. If yours are rusty or loose, it’s time to replace them. To do this, you’ll need a ladder that can reach the roof, a tool for removing nails from fascia boards, and a saw or drill with a wood-boring bit to cut the new fascia board. It’s also a good idea to have another person on hand to help keep the ladder steady and hand you tools.
Before you do anything, examine the fascia for telltale signs of rafter tails, such as nail heads or rusty screws. The rafters should be spaced about 16 inches apart. Mark the center of each rafter tail with a chalk line and then drill pilot holes 1/8 inch in diameter through the fascia and rafter tails where you marked it. Rubbing soap on the drill bits helps make it easier to drive these screws through the wood.
Next, use a saw to cut the fascia board into pieces that span at least two rafters and fit into each of the corner brackets. You may have to cut the corners of the fascia at 45-degree angles. Make sure that the ends of each piece are trimmed to match the width of your gutter, as well. After trimming, apply a protective finish such as stain or paint to the wood.
Cut the Rafter Tails
Gutter hangers are typically made of aluminum, which resists corrosion and rusting. They can also be made from galvanized steel or stainless steel, although these are less resistant to salt water than aluminum. Regardless of the type of gutter hanger you choose, it’s best to install them no more than 30 inches apart. This prevents the gutter from sagging and possibly collapsing under the weight of snow and rain.
Before you start installing the new gutter brackets, locate a rafter tail on each end of the gutter run, which is usually about two feet long. Rafter tails are typically spaced two feet on center, but open rafter construction can have them on every other rafter or even every other nail.
To determine the proper length for each rafter tail, use a rafter square and the angle from the peak of your roof to mark the position of your first rafter tail. Repeat the process with each rafter tail in your gutter run.
Once you have your rafter tails marked, bore a 1/8 inch-diameter pilot hole through the fascia and into the rafter at each chalk mark. Attach the gutter’s fascia bracket to the rafter tail with 1/4-inch stainless steel lag screws at least 2 inches long. Rub soap on the lag screws before screwing them in to make it easier to drive them into the wood.
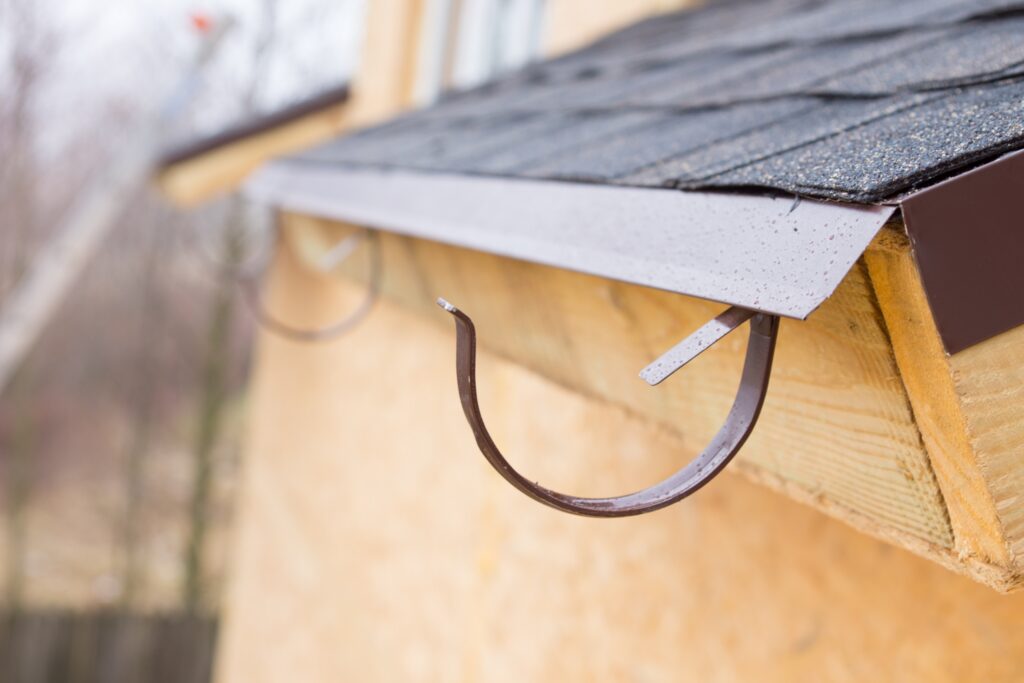
Attach the Fascia Brackets
For a good gutter system, you need to install both fascia brackets and gutter brackets. Some homeowners use hidden hangers inside the gutters for extra support. These are available at the same time you buy your gutters and are a favorite of professionals. They are angled into the fascia and offer more stability than straps that just hook over the gutter. If you have a half-round gutter, these can help prevent sagging due to the weight of water and leaves.
Once the rafter tails and the fascia are cut, you can start installing the gutter brackets. Depending on the type you have, these may be hidden or visible. If they are hidden, you can spray paint them to contrast or match the color of your house trim.
Screw the fascia brackets into the rafter tails at each of your chalk marks. You want to make sure your brackets are secure and will hold the weight of the gutter when full of water. In general, you should have a gutter bracket at least every two feet of gutter.
If you are adding a downspout to the gutter, mark where the hole is on the front of the gutter and drill a clearance hole through the short flange of the gutter. Screw the downspout through this hole and into the gutter, using a screw with a flanged end to help keep it from coming loose.